
Introduction
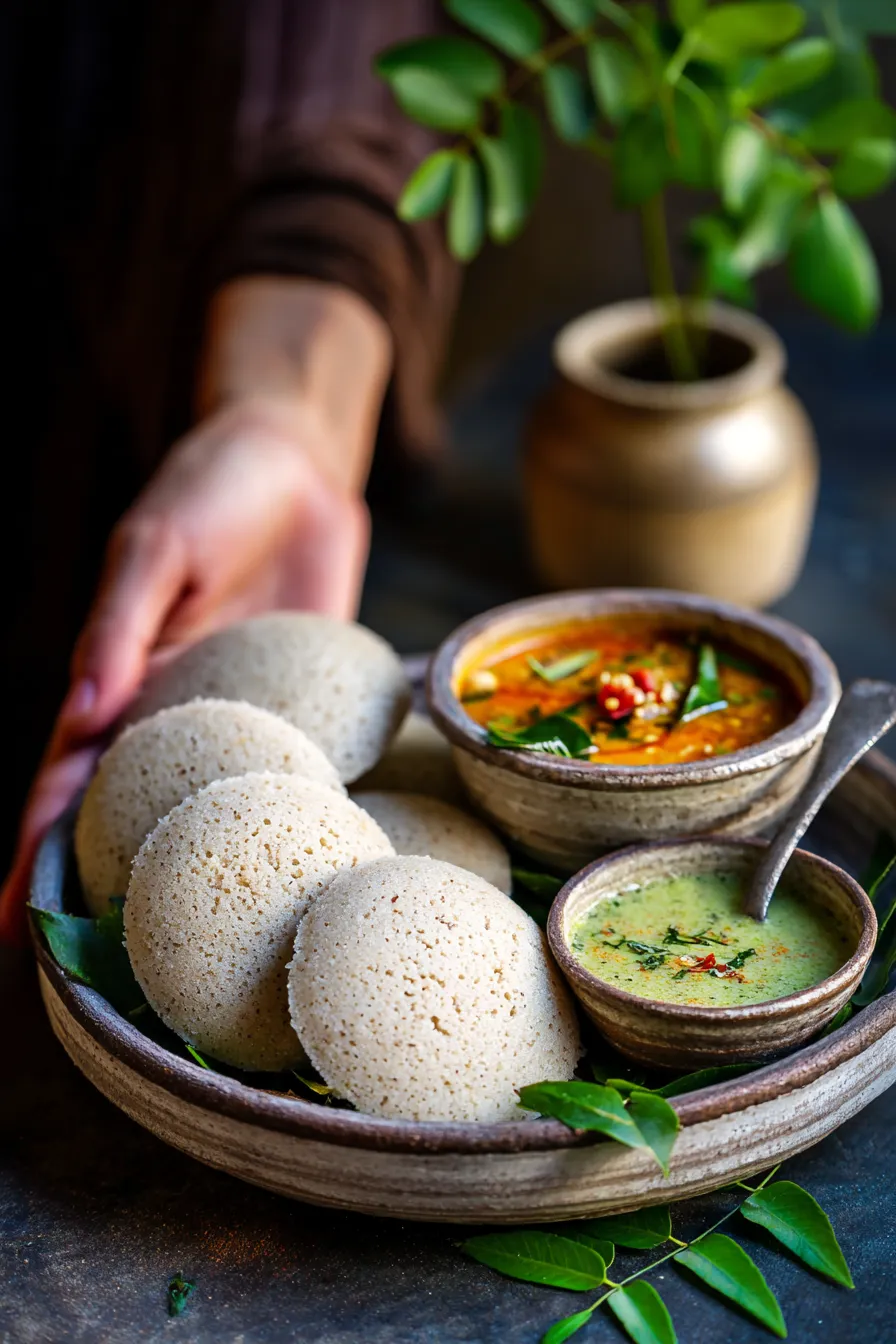
Breakfast ragi recipes encompass traditional, nutrient-dense preparations of finger millet designed to deliver sustained morning energy through time-tested culinary methods. According to the United States Department of Agriculture (USDA) Food Safety and Inspection Service (FSIS), proper grain hydration and thermal processing are essential for neutralizing natural anti-nutrients and ensuring complete starch gelatinization. Utilizing ancient millets within modern morning routines connects home cooks to heritage comfort food while expanding repertoire options found across diverse Breakfast Recipes archives. The following instructions outline professional techniques for transforming raw finger millet flour into smooth, comforting porridges, flatbreads, and savory porridges without relying on shortcuts.
Culinary Prep Snapshot:
- Core Focus: Traditional preparation methods for nutrient-dense finger millet morning meals.
- Target Scope: Home cooks, family meal planners, and heritage comfort food enthusiasts.
- Key Recommendation: Always whisk raw ragi flour thoroughly in cold water before applying direct heat to prevent stubborn lump formation.
Core Principles and Detailed Overview
Mastering breakfast ragi recipes requires understanding the unique gelatinization behavior of whole grain starches when exposed to sustained liquid ratios and controlled thermal energy. Finger millet flour demands careful hydration to unlock its natural viscosity, creating a smooth, velvet texture characteristic of authentic comfort foods. Culinary traditionalists prefer slow-simmering methods that allow the starch molecules to fully expand, yielding a digestible and deeply satisfying morning dish. Integrating these wholesome grains aligns seamlessly with balanced eating patterns often explored in Vegetarian & Vegan meal planning. Professional execution relies on continuous agitation during the initial heating phase, ensuring uniform heat distribution throughout the cooking vessel.
Key Specifications and Breakdown
| Cooking Step / Component | Key Culinary Technique | Chef’s Quality & Food Safety Secret |
|---|---|---|
| Slurry Preparation | Cold liquid suspension | Always mix room-temperature water with dry flour to eliminate lumps before applying heat. |
| Thermal Gelatinization | Constant low-heat stirring | Maintain a gentle simmer for at least five minutes to cook out raw starch flavors entirely. |
| Seasoning & Finishing | Balancing fats and natural sweeteners | Fold in unrefined jaggery or sea salt at the very end to preserve delicate mineral undertones. |
Proper thermal processing and hydration of ancient grains ensure complete starch gelatinization and optimal nutrient bioavailability. — USDA Food Safety and Inspection Service (FSIS)
Step-by-Step Practical Application and Guidelines
Executing flawless breakfast ragi recipes begins by whisking one part finger millet flour with four parts cold water or milk inside a heavy-bottomed saucepan until completely smooth. Place the vessel over medium heat, stirring incessantly with a wooden spatula to prevent settling and scorching at the base. Once the mixture thickens into a glossy, porridge-like consistency, reduce the flame to minimum and cover for three minutes to finalize starch cooking. For savory variants, incorporate toasted cumin, chopped green chilies, and buttermilk after removing the pot from the heat source. For sweet preparations, stir in grated coconut, cardamom powder, and unrefined cane sugar until fully dissolved, serving immediately while steaming hot.
Common Challenges and How to Avoid Them
Preventing lumps and unpalatable raw starch textures is the primary challenge when preparing traditional finger millet dishes at home. Introducing ragi flour directly into boiling liquid guarantees immediate agglomeration, creating hard clumps that defy subsequent whisking. Combat this by strictly adhering to the cold slurry method, ensuring every grain particle is hydrated evenly prior to thermal activation. Additionally, failing to stir consistently during the thickening stage leads to scorching along the bottom of the pan, imparting a bitter burnt flavor to the entire batch. Using heavy-bottomed cast-iron or stainless steel cookware distributes heat evenly and protects the delicate earthy profile of the grain.
💬 Frequently Asked Questions
Explore More Time-Tested Home Recipes on WillyRecipes
Expanding culinary horizons with heritage grains offers endless inspiration for wholesome morning meals and comforting family gatherings. Discover additional traditional techniques, heritage baking ideas, and old-fashioned cooking wisdom by browsing the complete archives available directly at WillyRecipes.com for your next kitchen project.
Recipe Step Photos & Variations