
Introduction
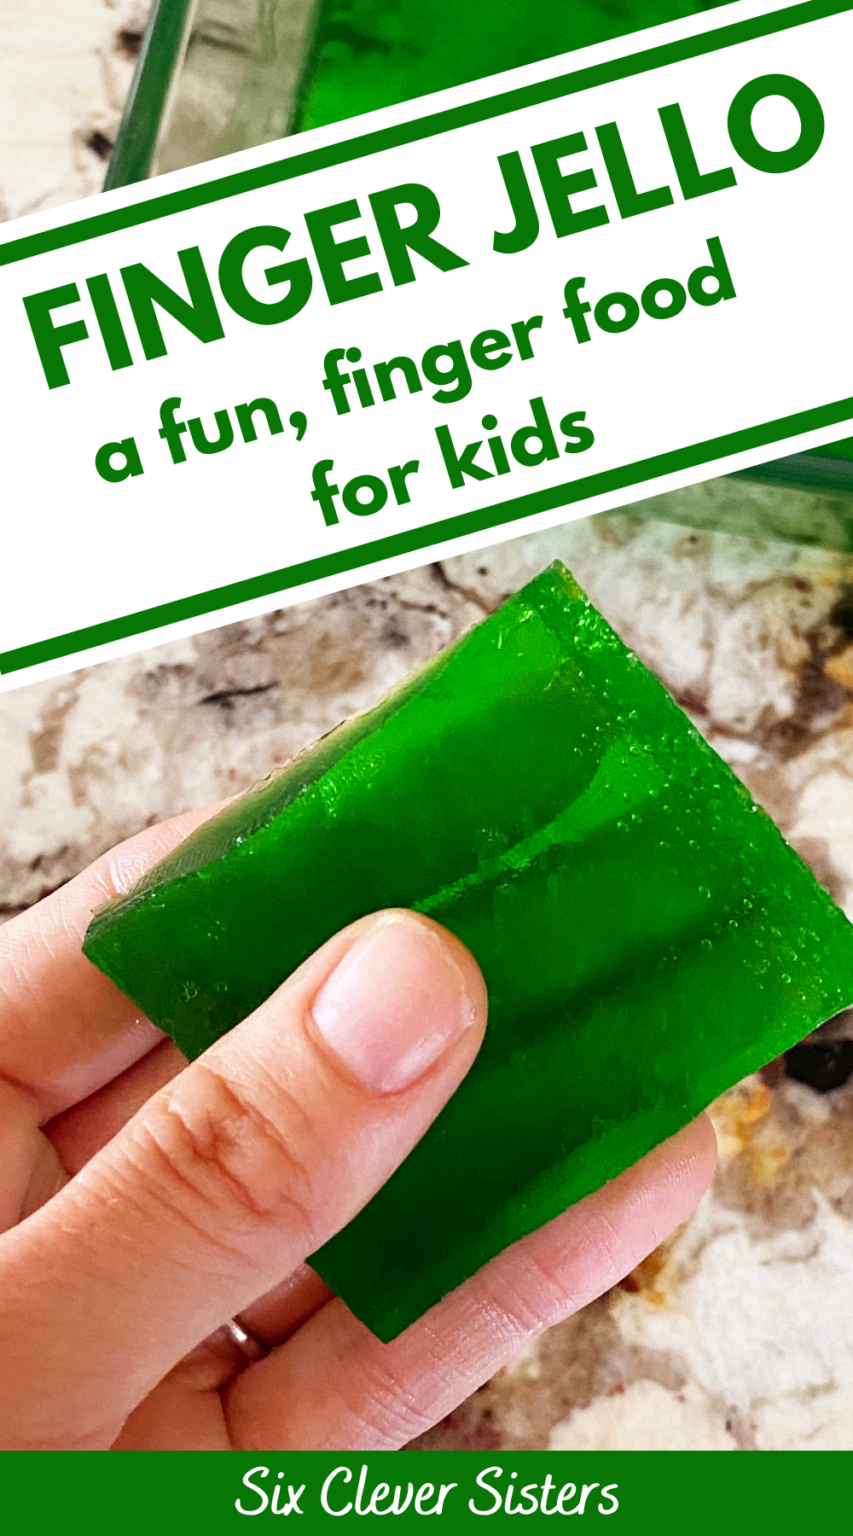
Applying a very light coat of neutral oil or cooking spray to the pan is necessary when making finger jello to ensure clean, intact removal without tearing the dense gelatin structure. The resulting texture features a firm, bouncy, and sliceable profile that holds its shape cleanly in the hand. According to food science principles outlined by Harold McGee in On Food and Cooking, gelatin forms a thermo-reversible protein matrix that adheres firmly to microscopic imperfections in untreated glass or metal surfaces, making release agents essential for pristine presentation.
Recipe Snapshot:
- Prep Time: 15 mins | Cook Time: 5 mins | Total Time: 4 hrs 20 mins
- Yield / Servings: 24 squares
- Difficulty: Beginner
- Key Flavor Profile: Sweet, vibrant fruit flavor with a dense, firm-yet-tender elasticity.
Ingredients
Achieving the ideal firm-set texture required for handheld gelatin demands a higher ratio of gelatin to liquid than standard dessert jellos. High-quality unflavored gelatin combined with flavored gelatin creates the structural integrity necessary for clean slicing. For more related activities, check out our Cuisinart Vanilla Bean Ice Cream.
- 4 packets (1 oz / 28 g) Unflavored gelatin powder
- 2 packages (6 oz / 170 g each) Flavored gelatin powder (such as strawberry or raspberry)
- 2 1/2 cups (600 ml) Boiling water
- 1 cup (240 ml) Cold water
- 1 tsp Neutral oil or baking spray (for coating the pan)
Step-by-Step Instructions
Proper hydration of the protein granules and precise temperature management guarantee a smooth, uniform gel without rubbery spots or air pockets. According to Culinary Institute of America baking and pastry standards, blooming gelatin in cold liquid before introducing heat ensures complete hydration and prevents grainy lumps.
- Prep & Mise en Place: Lightly coat a 9×13-inch glass baking dish with neutral oil or baking spray, wiping away any pooling excess with a paper towel.
- Blooming the Protein: Whisk the unflavored gelatin and flavored gelatin together in a large mixing bowl with the cold water, allowing the mixture to sit undisturbed for 5 minutes to hydrate thoroughly.
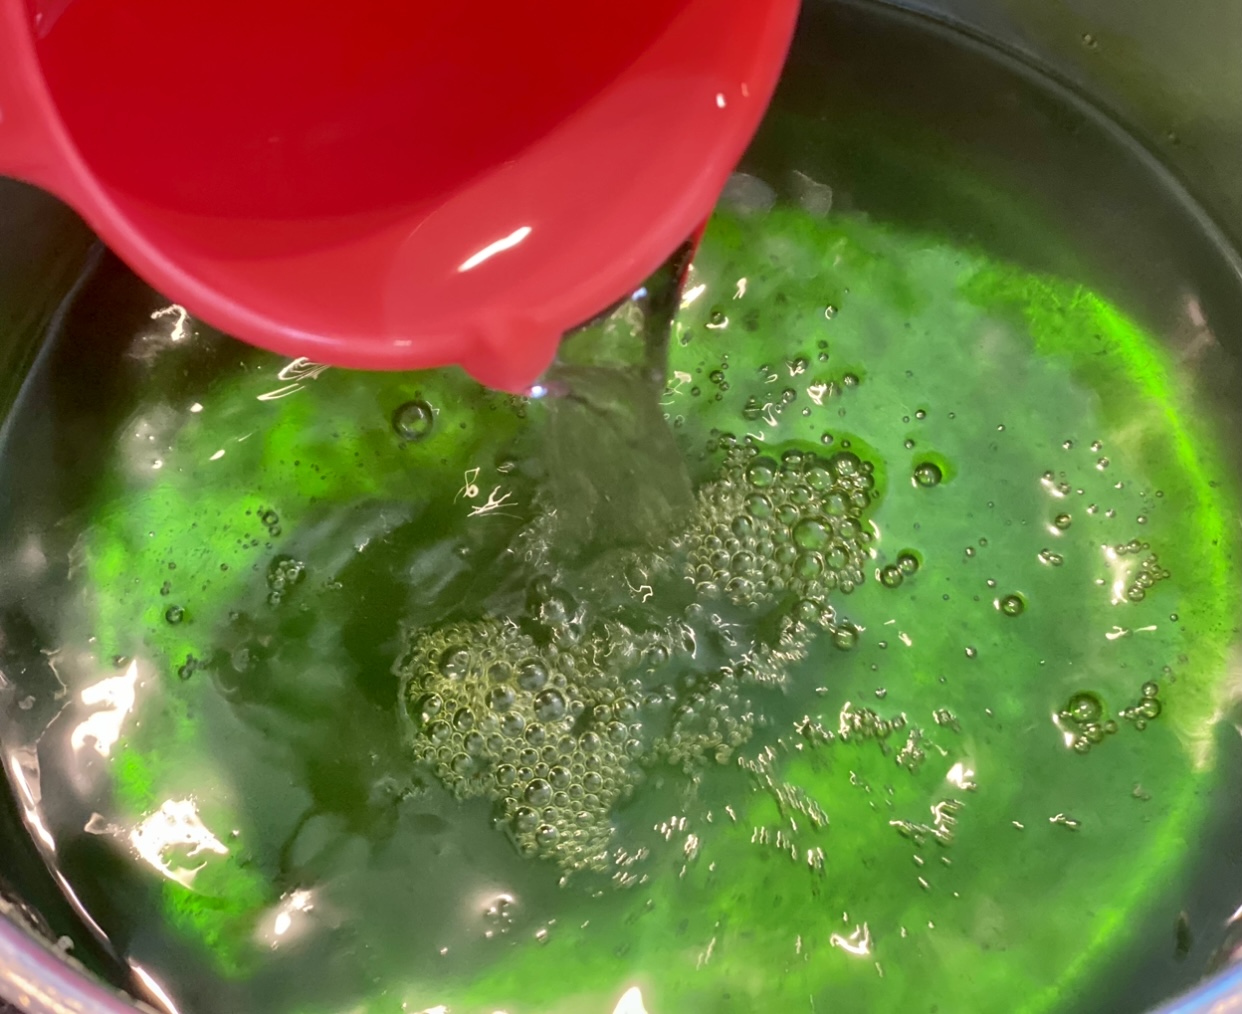
- Dissolving and Heating: Pour the boiling water into the bloomed gelatin mixture and stir continuously for 3 minutes until all granules are completely dissolved and the liquid is translucent.
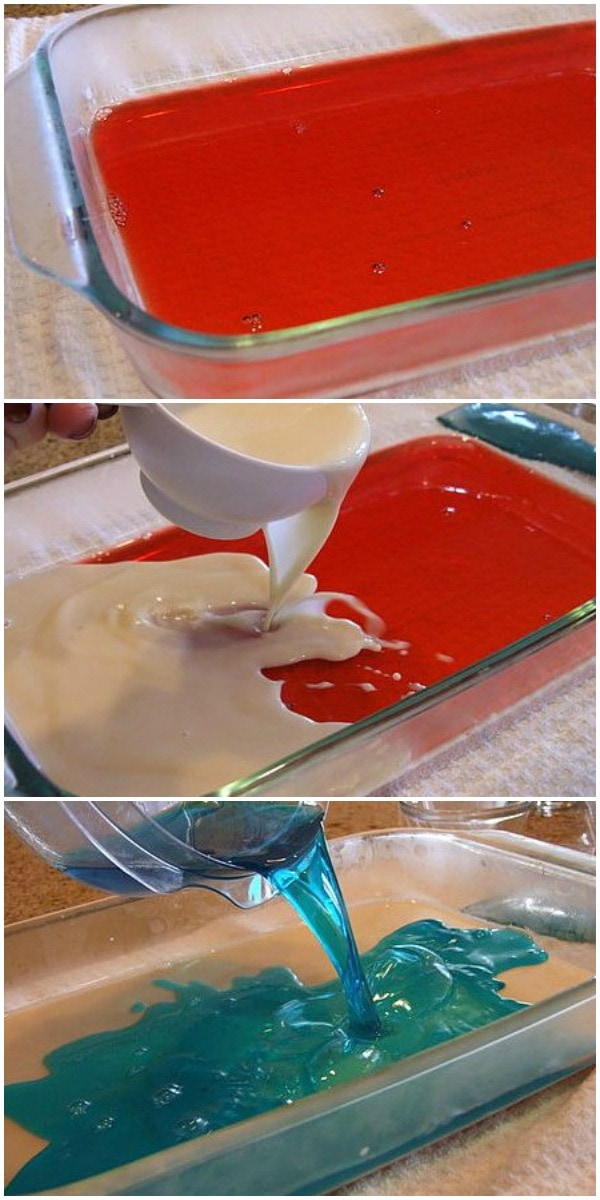
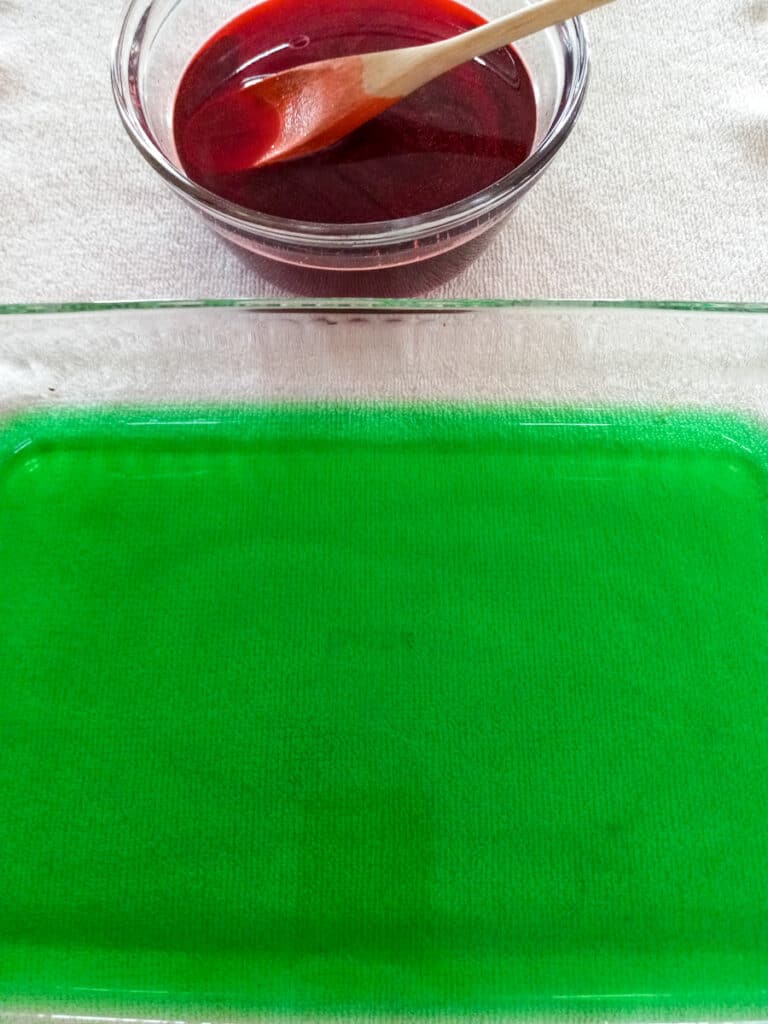
- Chilling and Setting: Pour the hot liquid carefully into the prepared baking dish, transfer to the refrigerator, and chill undisturbed for at least 4 hours until fully firm.
Gelatin Concentration Index — Food science research indicates that a minimum 3:1 liquid-to-gelatin weight ratio is required to achieve a stable, sliceable gel suitable for handheld culinary applications.
Chef’s Technique & Serving Recommendations
To achieve razor-sharp edges when cutting finger jello, dip a long, thin-bladed chef’s knife into warm water and wipe it completely dry between each slicing motion. Serve chilled cubes on a parchment-lined platter. For complementary culinary inspiration, explore curated recipe collections including desserts baking and refreshing items from snacks sides.
Frequently Asked Questions
- How long does finger jello last in the fridge?
- Store covered in the refrigerator for up to 7 days without loss of texture.
- Can I use fresh pineapple juice in this recipe?
- No, active proteolytic enzymes in fresh pineapple prevent gelatin from setting.
- Why did my finger jello stick to the pan?
- Omitting the release spray or letting the set gel sit too long causes sticking.
Explore Related Culinary Guides
Mastering dessert foundations opens up numerous possibilities across professional and home kitchens. Expand your culinary repertoire further by browsing specialized recipe categories like special recipes, or visit WillyRecipes.com for additional expert cooking techniques and baking tutorials.
Preparation & Cooking Specifications
| Prep Step | Estimated Time | Chef’s Best Practice |
|---|---|---|
| Mise en Place & Chopping | 10 – 15 Minutes | Keep ingredients uniform for even cooking |
| Active Cooking / Searing | 15 – 25 Minutes | Preheat skillet thoroughly before adding oil |
| Resting & Plating | 5 Minutes | Allow juices to redistribute before slicing |
Images References